A nearly full laptop does not mean you need to start deleting personal photos, work files, or documents you may need later. In most cases, you can recover a useful amount of space by clearing temporary files, reviewing large downloads, removing unused software, keeping cloud files online-only, and moving older files to external storage.
Affiliate Disclaimer
This website participates in affiliate programs. We may earn a commission
when you purchase products through links on this page, at no additional
cost to you. Our recommendations are based on independent research and
honest opinions.
The safest approach is to find out what is taking up space before removing anything. That way, you can separate disposable files from personal data and make deliberate choices instead of clicking a cleanup button and hoping for the best.
First, Find Out What Is Using Your Storage
Before cleaning anything, look at the storage breakdown built into your laptop.
On Windows 11 or Windows 10, go to Settings > System > Storage. Windows separates your storage into categories such as installed apps, temporary files, documents, pictures, and other data. Microsoft also provides Cleanup recommendations that can identify temporary files, large or unused files, cloud-synced files, and apps you rarely open.
On a recent Mac, go to Apple menu > System Settings > General > Storage. macOS shows categories such as Applications, Documents, Photos, Messages, Mail, and System Data. You can open supported categories to see more detail about what is consuming space.
Spend a few minutes here before doing anything else. If videos are using 200 GB, clearing a browser cache will barely matter. If temporary files are unusually large, however, you may be able to reclaim space without touching a single personal document.
Start With Temporary Files on Windows
Temporary files are one of the safest places to begin because many are created by Windows and applications as they work.
Windows includes Storage Sense, which can automatically remove certain temporary files and manage items that no longer need to remain on your system drive. Microsoft says its default settings do not automatically clean your Downloads folder or cloud content unless you configure it to do so.
You can find it under:
Settings > System > Storage > Storage Sense
I would review the settings before turning on automatic cleanup. Pay particular attention to anything involving your Downloads folder or Recycle Bin because those locations may contain files you still care about.
You can also open Cleanup recommendations under Storage. Windows lets you review suggested temporary files, unused apps, large files, and other categories before choosing what to remove.
The important word here is review. Do not simply select every box because Windows says space can be recovered.
Let macOS Handle Safe System Cleanup
macOS also performs some storage housekeeping automatically.
Apple says macOS can clear caches, logs, temporary database files, interrupted downloads, staged software updates, Safari website data, and other files that are safe for the system to recreate when space is needed.
You can also visit:
Apple menu > System Settings > General > Storage
From there, macOS may show recommendations for storing selected files in iCloud, managing watched media, and automatically removing old items from Trash.
I would avoid manually digging through hidden Library folders and deleting random cache files unless you know exactly what created them. The built-in storage tools are usually a safer starting point than removing files from system folders yourself.
Review Your Downloads Folder Carefully
Downloads folders have a habit of becoming digital junk drawers.
Installers, PDFs, ZIP files, downloaded videos, duplicate documents, screenshots, and files you needed once can sit there for years. On a laptop with a smaller SSD, that collection can quietly consume tens of gigabytes.
Sort the folder by file size and look at the largest items first.
Good candidates for removal or relocation often include:
- Installers for apps you already installed
- Old ZIP archives
- Duplicate downloads
- Large videos you already saved elsewhere
- Temporary project exports
- ISO or disk image files you no longer need
- Old documents that can be archived
Do not delete something simply because you do not recognize the filename. Open it or check where it came from first.
A ten-minute review of Downloads is usually more useful than spending an hour deleting tiny files one at a time.
Remove Apps You No Longer Use
Applications can take up far more storage than people expect, particularly games, video editors, creative software, development tools, and apps that download large libraries.
On Windows, Storage settings can help you identify installed applications and how much space they occupy. Microsoft also includes unused apps as one of the categories that may appear in Cleanup recommendations.
On Mac, open the Applications category under Storage to see how much space individual apps use. Apple also lets you inspect several other storage categories from the same screen.
The goal is not to uninstall everything you have not opened this week. Look for software you installed for an old project, a game you finished months ago, or an application you replaced with something else.
Removing one 40 GB application is far more effective than deleting thousands of small documents.
Use Cloud Storage Without Keeping Every File on the Laptop
Cloud storage becomes much more useful when you stop treating it as a folder that must be fully downloaded to every computer.
If you use OneDrive on Windows, Files On-Demand can display files in File Explorer without keeping the full local copy on your laptop. Online-only files remain visible but do not occupy normal local storage until you open them.
If a OneDrive file has already been downloaded and you no longer need it offline, you can right-click it and choose Free up space. The file remains in OneDrive but the local copy is removed. Files marked Always keep on this device remain downloaded for offline access.
This works especially well for old work documents, finished projects, reference files, and photos that you rarely need when your laptop is offline.
Just remember that online-only files require an internet connection when you want to open them again.
Use iCloud Drive the Same Way on a Mac
Mac owners can take a similar approach with iCloud Drive.
When Optimize Mac Storage is enabled, macOS can keep older documents in iCloud when local space is needed while recent files remain available on the Mac.
You can also control individual files manually. In iCloud Drive, Control-click a downloaded item and choose Remove Download when you want the file to remain in iCloud without occupying the same amount of local storage. If you need it offline again later, you can download it from iCloud Drive.
This is a useful middle ground because you are not permanently deleting the file. You are simply deciding that the full local copy does not need to live on your internal drive all the time.
Of course, your available iCloud space depends on your storage plan.
Move Large Photos and Videos Before Deleting Them
Photos and videos are often the biggest personal storage category on a laptop.
Instead of deleting them, move older material to another storage location. Finished video projects, old family photos, RAW camera files, downloaded movies, and archived phone backups are all good candidates.
Mac owners can even move larger media libraries to another storage device. Apple specifically mentions Photos and iMovie libraries as examples of content that can be moved to an external drive when local space is limited.
The same general idea works on Windows. Large personal archives do not have to live permanently on the internal SSD just because that is where they were originally saved.
There is one rule I would not compromise on: verify the copied files before removing the originals.
Open several files directly from the external drive. Make sure folders transferred correctly and confirm that important documents are readable.
An External Drive Is Not Automatically a Backup
This distinction matters.
If your only copy of a family photo is on your laptop, and you move it to an external hard drive and then delete it from the laptop, you still have only one copy.
That creates more laptop space, but it does not protect the photo if the external drive fails, is lost, or gets damaged.
For anything genuinely important, I prefer having at least two copies in different places. That could mean an external drive plus cloud storage, or one working copy plus a second backup drive.
Apple also recommends making copies of important data stored in the cloud when you want an additional backup.
Storage expansion and backup are related, but they are not the same job.
Empty the Recycle Bin or Trash Only After Checking It
Deleting a file does not always immediately return its space to your drive.
Windows keeps deleted items in the Recycle Bin until they are permanently removed. Storage Sense can manage older Recycle Bin items automatically depending on your settings.
On Mac, files moved to Trash continue using storage until Trash is emptied. Apple also offers an option that can automatically erase items that have remained there for more than 30 days.
Before emptying either location, scan through it once.
That extra minute can save you from permanently removing something you deleted by mistake.
Do Not Obsess Over “System Data”
Large System Data or system storage numbers can look alarming, particularly on a Mac.
Some of that space belongs to caches, logs, virtual memory, temporary files, app support data, fonts, plug-ins, and other resources that the operating system manages. Apple notes that the size of System Data can change depending on what the Mac is doing.
I would not install a random cleaner simply because System Data looks large.
Start with your own files, unused software, downloaded media, cloud storage settings, and the operating system’s built-in storage tools. Those are much easier to understand and much less likely to cause problems.
Prevent the Storage Problem From Coming Back
Once you have reclaimed some space, change a few habits so you do not have to repeat the entire cleanup every month.
On Windows, Microsoft lets you choose where certain types of new content are saved if you have another connected drive. You can find this under Settings > System > Storage > Advanced storage settings > Where new content is saved.
It also helps to keep completed projects somewhere other than your internal drive. A laptop SSD is a good place for applications and files you are actively working on, but it does not need to become the permanent home for every video, photo archive, game installer, and project you have ever created.
That is usually the point where external storage becomes genuinely useful.
When Moving Files to an External Drive Makes Sense
Cloud storage is convenient for documents, but large photo libraries, videos, game files, project archives, and offline backups can quickly become expensive or inconvenient to keep entirely online.
An external hard drive gives you a simple place to move those large files while keeping them physically accessible. You plug it in when you need the archive and disconnect it when you are finished.
You do not need the fastest drive available for this type of storage. If you are mostly archiving photos, office files, media, and completed projects, capacity and reliability generally matter more than maximum transfer speed.
For someone who only needs a modest amount of extra space and wants to spend as little as possible, a smaller portable drive can be enough.
1
YOTUO 500GB External Hard Drive: Best for Basic Storage Expansion
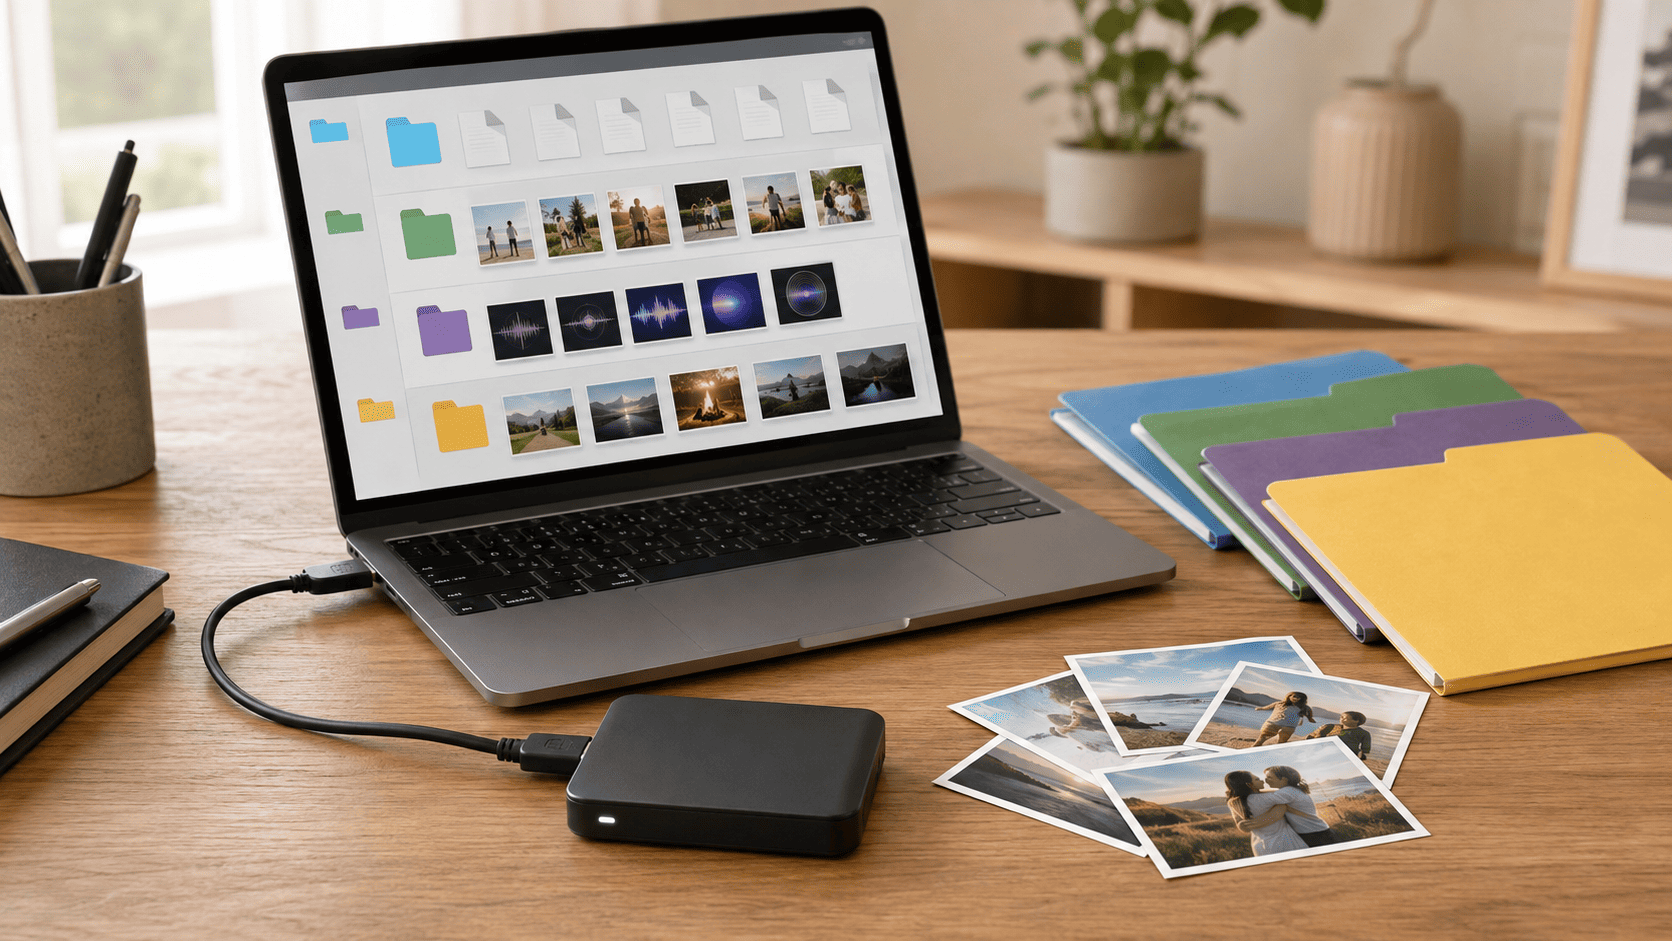
The YOTUO 500GB External Hard Drive is the one I would look at if the problem is fairly simple: your laptop is full, you have a few hundred gigabytes of older files, and you want somewhere inexpensive to put them.
Its 500GB capacity is enough for a substantial collection of documents, photos, music, and finished work files. It uses USB 3.0, and the listing also highlights USB-C connectivity, which is useful because modern laptops increasingly ship with USB-C ports while many older computers still rely on traditional USB connections.
The compact 2.5-inch format also makes more sense for a laptop than a large desktop hard drive. It is powered through the connection, so you do not need to carry a separate power adapter just to open an old folder.
The Amazon information you provided shows a 4.3 out of 5 rating from roughly 3,800 reviews, with more than 3,000 units bought during the previous month. The listed price was around $36.99, which puts it in an accessible range for straightforward storage expansion.
I would use a drive like this primarily for archives, transferred media, and an additional copy of important files. I would not make it the only location for irreplaceable documents or family photos.
The limitation is capacity. Five hundred gigabytes can disappear quickly if you shoot a lot of video, work with large creative files, or want to maintain years of backups.
If you already know that your storage collection is going to keep growing, buying more capacity upfront can save you from managing several small drives later.
2
Seagate 2TB Portable Hard Drive: Best for Larger File Archives
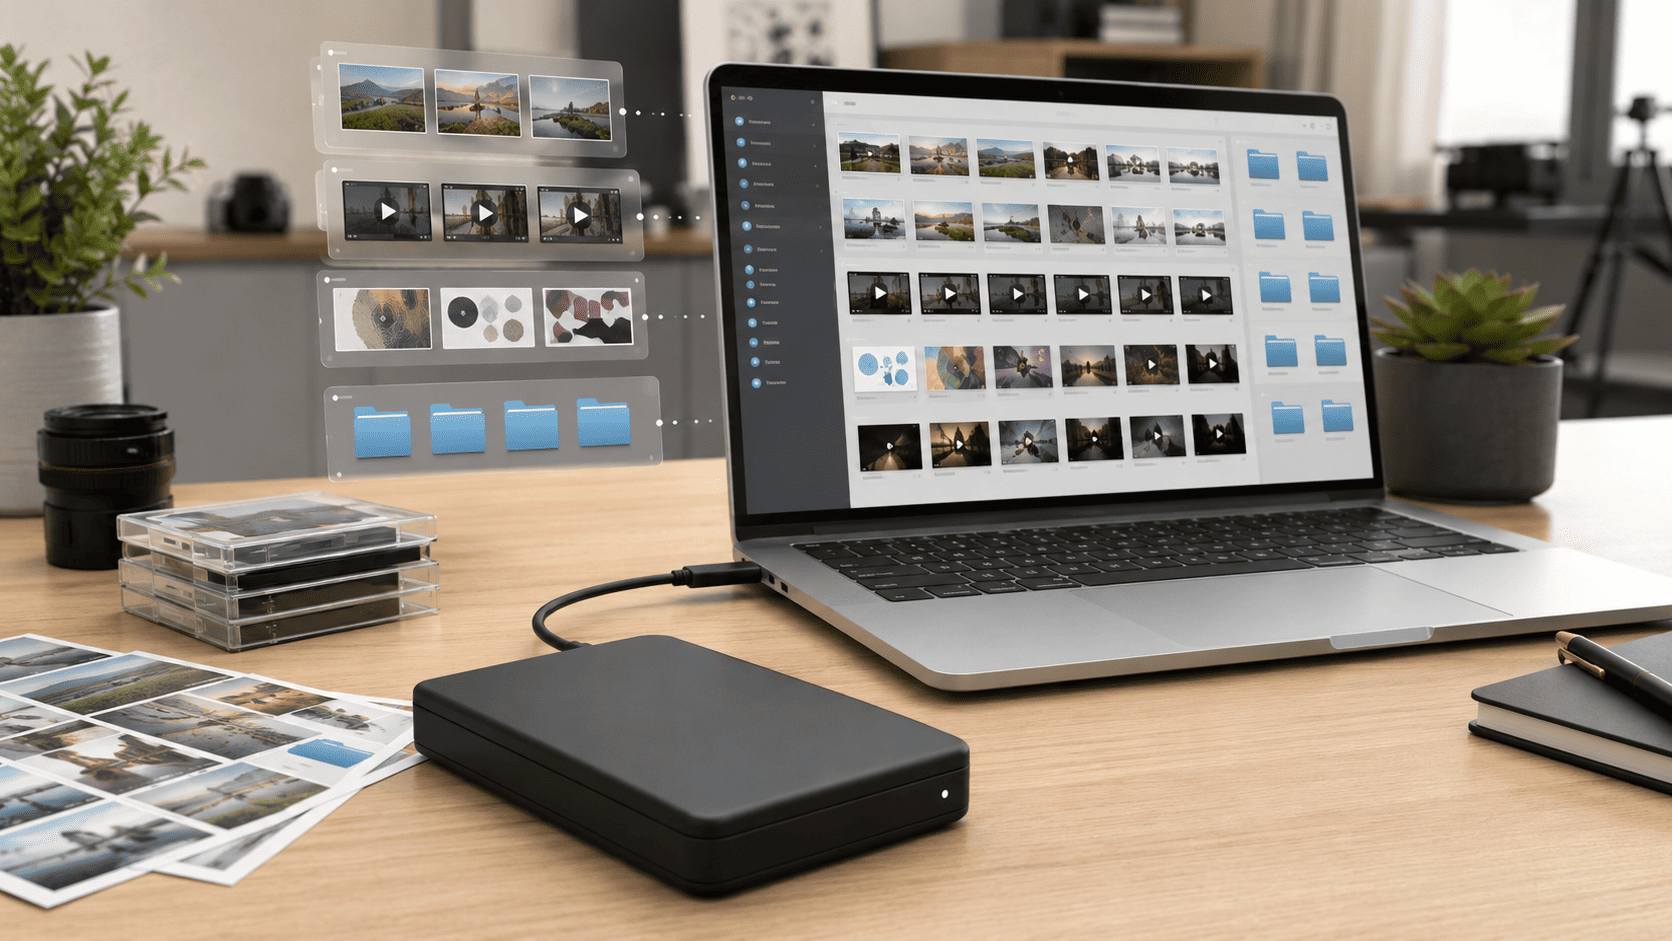
The Seagate 2TB Portable Hard Drive STGX2000400 makes more sense when 500GB feels like a temporary fix rather than enough storage for the next few years.
Two terabytes gives you four times the nominal capacity of the YOTUO model above. That makes it far more comfortable for photo libraries, large video collections, older project folders, laptop backups, and other files you want to keep without filling your internal drive.
Seagate lists the STGX2000400 as a 2TB portable external drive with USB 3.0 support. The drive is bus-powered and designed as straightforward portable storage, so it does not need a separate desktop-style power brick.
Mac compatibility deserves a little attention. Seagate documentation for this portable line notes that reformatting may be required depending on how you intend to use the drive with a Mac. If you plan to move one drive regularly between Windows and macOS, check the file system before copying hundreds of gigabytes of data.
The Amazon listing you supplied shows a 4.6 out of 5 rating from more than 272,000 reviews, which is a much larger history than the YOTUO option. Your listing showed a price of about $156.99. Since external-drive pricing can move considerably, I would compare the current price before ordering rather than judging the drive only by that figure.
I would choose the Seagate if capacity is the main concern and you expect your archive to continue growing.
What to Look for in an External Drive
You do not need to compare dozens of technical specifications for basic laptop storage.
Capacity
Start with how much data you already have.
If you need to move 150GB from a 256GB laptop, a 500GB drive may be enough. If you already have hundreds of gigabytes of photos and videos, 1TB or 2TB gives you much more breathing room.
Leave room for future files rather than buying a drive that will be nearly full on day one.
Connection
Check the ports on your laptop.
USB-A is still common, while many newer laptops rely more heavily on USB-C. A compatible cable or simple adapter can solve most connection issues, but it is worth checking before the drive arrives.
HDD or SSD
Both products discussed here are portable hard drives rather than external SSDs.
Traditional HDDs are usually attractive when you want more storage for the money. External SSDs are faster, quieter, and better suited to frequent file transfers or working directly with large media projects, but they often cost more for the same capacity.
For archives and backups, an HDD can still make plenty of sense.
Portability
Portable drives are convenient, but hard drives contain moving parts.
Avoid dropping them, throwing them loosely into a backpack, or disconnecting them while files are being written. When possible, use your operating system’s eject function before unplugging the drive.
Backup Strategy
Do not choose an external drive and assume the backup problem is finished.
If a file matters, keep another copy somewhere else. Your laptop plus an external drive is much safer than either one alone, and adding a trusted cloud copy gives you another layer of protection.
Final Thoughts
You can usually free up a surprising amount of laptop storage without deleting anything important.
Start with the built-in Storage tools in Windows or macOS. Clear safe temporary files, inspect Downloads, remove software you genuinely no longer use, and take advantage of OneDrive Files On-Demand or iCloud’s online storage features when you do not need every file available offline.
For large personal archives, moving files to external storage is often the cleanest next step. Just verify every transfer before removing the laptop copy, and remember that moving the only copy of a file is not a backup.
If you only need a modest amount of inexpensive extra storage, the YOTUO 500GB External Hard Drive is the more practical fit. If you have a growing collection of photos, videos, projects, or backups and would rather have considerably more room, the Seagate 2TB Portable Hard Drive is the stronger choice.
The goal is not to delete more aggressively. It is to decide which files truly need to live on your laptop every day and give everything else a safer place to stay.