Setting up Google Home is much easier than most people expect. Whether you’ve just bought your first Google Nest speaker, smart display, or another compatible device, the entire process usually takes less than 15 minutes. Once it’s connected, you can control smart home devices, play music, ask questions, set reminders, and automate everyday tasks with simple voice commands.
Affiliate Disclaimer
This website participates in affiliate programs. We may earn a commission
when you purchase products through links on this page, at no additional
cost to you. Our recommendations are based on independent research and
honest opinions.
If you’re completely new to Google’s smart home ecosystem, this guide walks you through every step. You’ll learn how to connect your Google Home device, solve common setup problems, organize your rooms, and prepare your home for future smart devices.
What You’ll Need Before You Start
Before beginning the setup process, make sure you have everything ready.
You’ll need:
- A Google Home or Google Nest device
- A smartphone or tablet
- The Google Home app installed
- A Google account
- A stable WiFi connection
- Bluetooth enabled on your phone
Keeping your phone connected to the same WiFi network you’ll use for your Google Home device makes the setup process much smoother.
Step 1: Plug In Your Google Home Device
Start by placing your Google Home or Nest device where you plan to use it.
Choose a location with good WiFi coverage and enough open space for the microphones to hear your voice clearly. Avoid placing it inside cabinets or directly next to large speakers that could interfere with voice recognition.
Connect the power adapter, and wait for the device to turn on. After a minute or two, you’ll hear a welcome message indicating that it’s ready for setup.
Step 2: Install the Google Home App
If you don’t already have it, download the Google Home app from the App Store or Google Play Store.
Once installed, sign in using your Google account.
The app acts as the control center for your entire smart home. Besides setting up speakers, you’ll also use it later to manage cameras, thermostats, lights, smart plugs, and other compatible devices.
Step 3: Add Your New Device
Open the Google Home app and tap the plus (+) button.
Choose Set up device, then select New device.
The app will ask you to choose or create a home. If this is your first Google Home product, simply create a new home and give it an easy-to-recognize name.
After a few moments, the app will begin searching for nearby Google Home devices.
When your speaker or display appears, tap it to continue.
Step 4: Confirm the Connection
During setup, your Google Home device will play a short sound.
If you hear the sound, confirm it in the app.
This ensures you’re connecting to the correct device, especially if multiple Google Home products are nearby.
Next, the app will ask you to select the room where the device is located.
Assigning rooms like:
- Living Room
- Bedroom
- Kitchen
- Office
makes future voice commands much easier. For example, saying “Turn off the bedroom lights” only works correctly if your devices are organized into rooms.
Step 5: Connect to WiFi
Choose your home’s WiFi network from the list.
Enter your WiFi password and allow the device to connect.
This step usually takes a minute or two.
Once connected, your Google Home device may automatically download and install the latest software updates. Let the process finish completely before unplugging anything.
Step 6: Customize Google Assistant
After connecting to WiFi, you’ll have the opportunity to personalize Google Assistant.
You can choose options such as:
- Voice Match
- Personal results
- Music services
- Video services
- News providers
- Calendar access
Voice Match is especially useful if multiple people use the same Google Home device. It allows Google Assistant to recognize different voices and provide personalized calendars, reminders, playlists, and schedules.
You can always change these settings later if you skip them during setup.
Step 7: Test Your Google Home
Once setup is complete, try a few simple commands.
Examples include:
- “Hey Google, what’s the weather?”
- “Hey Google, play some jazz music.”
- “Hey Google, set a timer for 10 minutes.”
- “Hey Google, what’s on my calendar today?”
If Google Assistant responds correctly, your device is ready to use.
Common Setup Problems and How to Fix Them
Most installation issues have simple solutions.
If the Google Home app can’t find your device, verify that Bluetooth is enabled on your phone and that both devices are close together.
If WiFi won’t connect, double-check your password and ensure you’re using a supported network. Restarting your router often resolves temporary connection problems.
If the setup freezes during software updates, leave the device connected to power for several more minutes before restarting it.
Restarting both your smartphone and Google Home device can also solve many connection issues.
Organizing Your Smart Home
As you add more devices, keeping everything organized becomes increasingly important.
The Google Home app allows you to create multiple rooms and even multiple homes.
For example, you might organize your devices like this:
- Living Room
- Kitchen
- Master Bedroom
- Guest Room
- Garage
This organization makes voice commands much more natural and simplifies managing your smart home over time.
What’s Next After Setting Up Google Home?
Once your Google Home speaker is working, you can start expanding your smart home.
Google Home supports thousands of compatible products, including security cameras, thermostats, smart lights, video doorbells, smart plugs, locks, and entertainment devices.
Adding these products allows you to create routines that automate everyday tasks. For example, one command can turn off your lights, lower the thermostat, lock compatible doors, and start your favorite bedtime playlist.
If you’re just getting started, adding one or two smart devices is usually the easiest way to see what Google Home is capable of.
Recommended Google Nest Devices to Expand Your Smart Home
After you’ve set up your Google Home speaker or display, the next step is adding smart devices that make everyday tasks more convenient. Google Home supports a wide range of products, but Google’s own Nest devices usually offer the smoothest integration since they’re built specifically for the ecosystem.
If you’re wondering where to start, these two Nest products are excellent additions for both new and experienced smart home users.
1
Google Nest Cam Indoor (Wired, 3rd Gen)
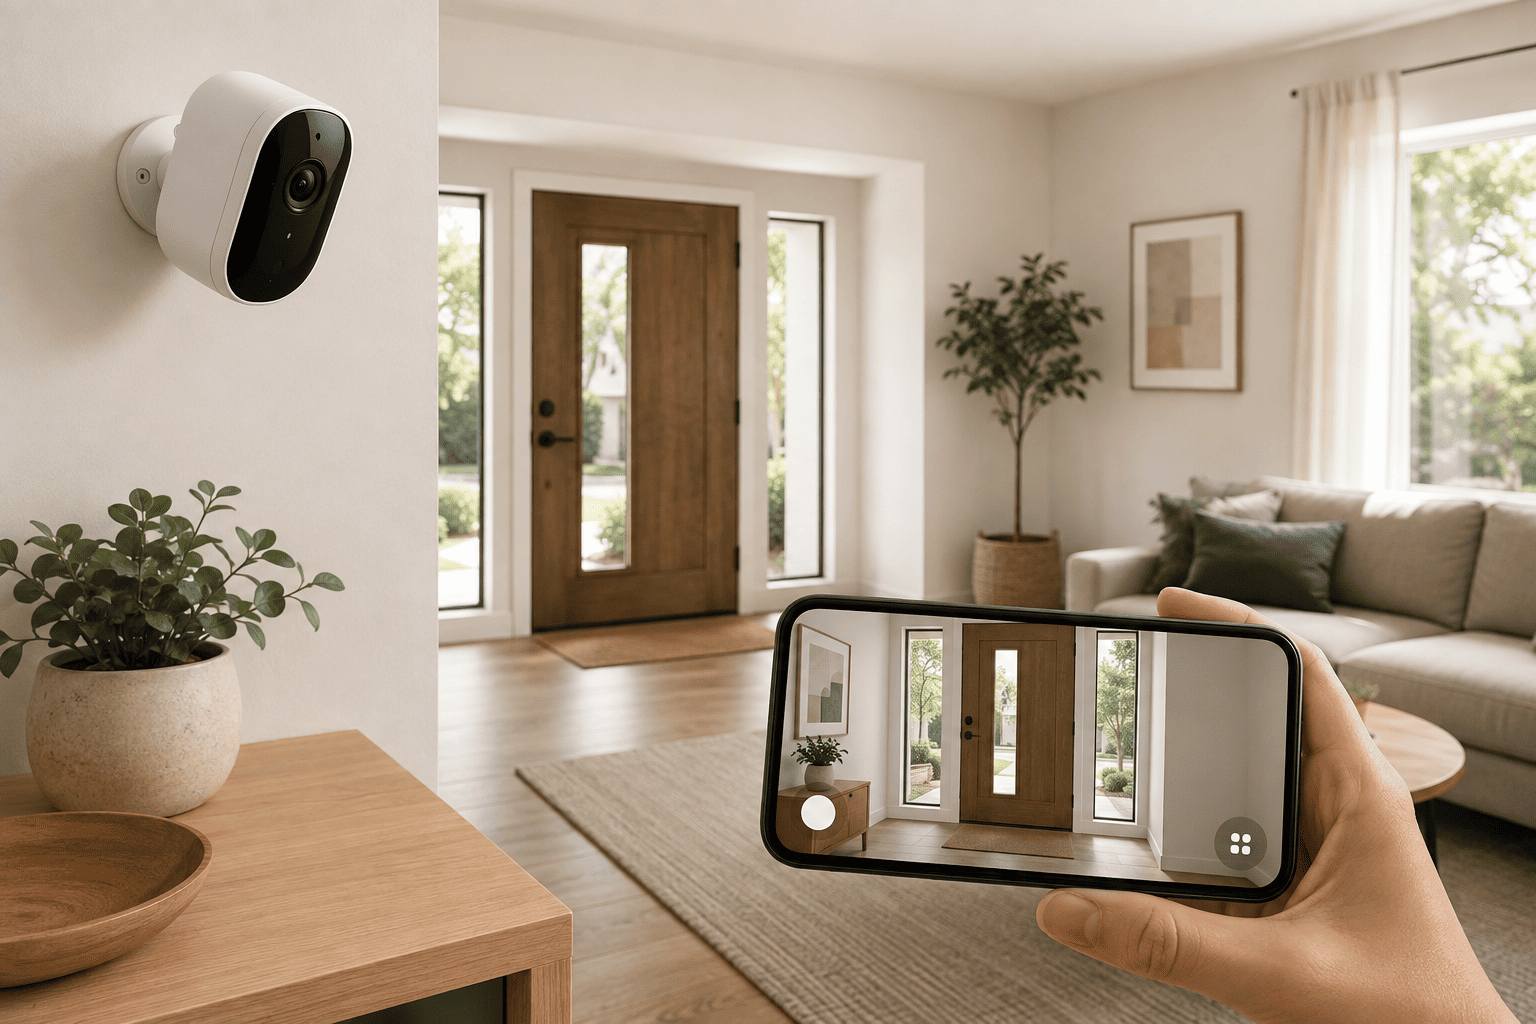
If home security is your priority, the Google Nest Cam Indoor (Wired, 3rd Gen) is one of the easiest upgrades you can make.
Since it works directly with Google Home, setup is simple. Once connected, you can view live video, receive motion alerts, and manage the camera alongside your other smart devices within the same app.
The camera records in 2K resolution, providing sharper images than standard HD cameras. Features like motion detection, color night vision, and two-way audio make it useful for checking in on pets, monitoring deliveries, or keeping an eye on your home while you’re away.
It also supports Google Gemini-powered intelligent alerts, helping distinguish important activity from routine movement so you receive more meaningful notifications.
For anyone building a Google smart home, it’s an excellent first security camera that integrates naturally with the rest of the ecosystem.
2
Google Nest Thermostat
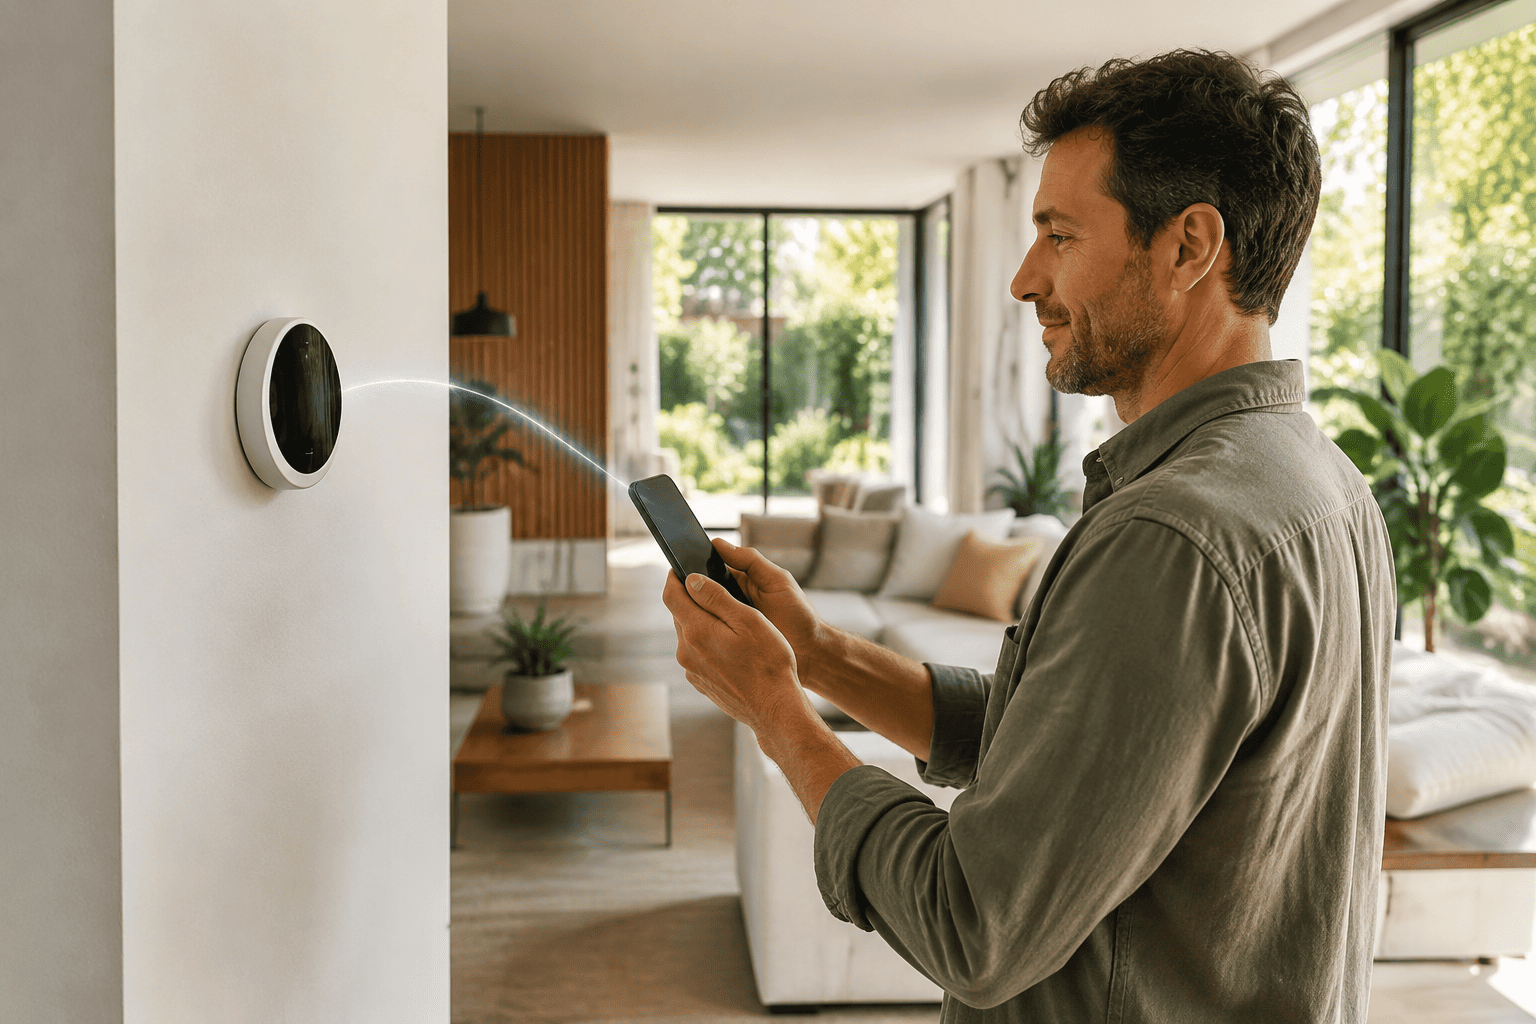
If you’d rather start by making your home more comfortable and energy efficient, the Google Nest Thermostat is another excellent addition.
Once installed, you can control your home’s temperature directly from the Google Home app or with simple voice commands through Google Assistant.
The programmable schedule helps reduce unnecessary heating and cooling, while WiFi connectivity lets you adjust the temperature whether you’re at home or away. That’s especially useful if your plans change during the day or you want your house comfortable before you arrive.
Because it works seamlessly with other Google Home devices, you can include it in routines. For example, a “Good Night” routine can turn off compatible lights and adjust your home’s temperature with a single voice command.
At around $118, it’s one of the most practical upgrades for anyone planning to build a connected home.
What to Look for When Buying Google Home Compatible Devices
As your smart home grows, compatibility becomes increasingly important.
Devices that officially support Google Home usually offer easier setup, more reliable performance, and better automation options than products that rely on third-party integrations.
Think about what would improve your daily routine the most. Security cameras help monitor your home, smart thermostats make climate control more convenient, and smart lighting can automate routines throughout the day.
Voice control is another feature worth considering. Products that respond directly through Google Assistant often feel much more natural to use than devices requiring separate apps.
Finally, remember that your smart home doesn’t need to grow overnight. Starting with one or two well-integrated devices gives you time to learn the system before adding more accessories.
Final Thoughts
Setting up Google Home is one of the easiest ways to begin building a smart home. With just a smartphone, a WiFi connection, and a Google account, you can have your first device running in minutes and start using voice commands for music, reminders, weather updates, and much more.
Once your Google Home is ready, expanding your system becomes simple. Devices like the Google Nest Cam Indoor add smart security with live video, motion alerts, and two-way communication, while the Google Nest Thermostat brings convenient temperature control and energy-saving automation to your home.
The best approach is to start small. Learn how Google Home works, create a few routines, and gradually add devices that solve real everyday problems. Before long, you’ll have a connected home that’s easier to manage, more convenient to use, and tailored to the way you live.