Few things are more frustrating than taking what seems like the perfect photo, only to realize later that it’s blurry. Whether you’re using a smartphone, mirrorless camera, or DSLR, blurry images are one of the most common photography problems. Fortunately, they usually have a simple cause and an even simpler solution.
Affiliate Disclaimer
This website participates in affiliate programs. We may earn a commission
when you purchase products through links on this page, at no additional
cost to you. Our recommendations are based on independent research and
honest opinions.
The good news is that you don’t need expensive camera gear to take sharper photos. In many cases, improving your technique or changing a few camera settings is enough to make a noticeable difference. In this guide, I’ll explain the five most common reasons photos turn out blurry and show you exactly how to fix each one.
Why Do Photos Become Blurry?
Sharp photos depend on three things working together:
- Accurate focus
- A steady camera
- Enough light
If any one of these factors is missing, image quality quickly starts to suffer.
Understanding what’s causing the blur is the first step toward fixing it.
1. Camera Shake
The most common cause of blurry photos is simple camera movement.
Even small hand movements become noticeable when shooting in low light or using slower shutter speeds. Pressing the shutter button too forcefully can also introduce enough movement to soften an otherwise sharp image.
Signs of camera shake include:
- Everything in the image appears slightly soft.
- No part of the photo looks perfectly sharp.
- Blur appears in one consistent direction.
How to Fix It
Try these techniques:
- Hold the camera with both hands.
- Keep your elbows close to your body.
- Lean against a wall or solid object for support.
- Use image stabilization if your camera or lens offers it.
- Increase your shutter speed whenever possible.
A steadier camera almost always produces a sharper image.
2. The Subject Is Moving
Sometimes the camera isn’t moving at all.
Instead, your subject moves before the exposure is finished.
Children, pets, athletes, wildlife, and vehicles all move quickly enough to create motion blur if your shutter speed is too slow.
How to Fix It
For moving subjects:
- Increase the shutter speed.
- Use continuous autofocus if your camera supports it.
- Shoot multiple frames in burst mode.
- Increase ISO if necessary to maintain a faster shutter speed.
Capturing motion sharply usually requires prioritizing shutter speed over everything else.
3. The Camera Focused on the Wrong Thing
Modern autofocus systems are incredibly capable, but they aren’t perfect.
Sometimes the camera locks onto the background instead of the person you’re photographing. Other times it focuses on nearby objects instead of your intended subject.
The result is a technically focused image that’s focused on the wrong area.
How to Fix It
Instead of relying entirely on automatic focusing:
- Tap your subject when using a smartphone.
- Select a single autofocus point on dedicated cameras.
- Half-press the shutter to confirm focus before taking the photo.
Taking a second to verify focus often makes a dramatic difference.
4. Low Light Conditions
Cameras need light to capture sharp images.
When there isn’t enough available light, the camera often compensates by slowing the shutter speed or increasing ISO. A slower shutter speed makes blur much more likely if either you or your subject moves.
Low light situations include:
- Indoor photography
- Evening events
- Restaurants
- Concerts
- Night scenes
How to Fix It
Whenever possible:
- Move closer to a window.
- Turn on additional lighting.
- Use Night Mode on smartphones.
- Increase ISO if using a dedicated camera.
- Stabilize the camera before taking the shot.
Better lighting usually improves sharpness immediately.
5. A Dirty Camera Lens
This is another surprisingly common issue.
Fingerprints, dust, and smudges scatter light before it reaches the camera sensor, making images appear hazy or soft.
Many people spend time adjusting camera settings without realizing the lens simply needs cleaning.
How to Fix It
Use:
- A microfiber cloth
- Lens cleaning solution if necessary
- A soft lens brush for dust
Avoid using paper towels or rough fabrics, as they can scratch delicate lens coatings.
Cleaning the lens takes only a few seconds but often restores image clarity immediately.
Smartphone vs Camera Blur
Although the causes are generally the same, smartphones and dedicated cameras handle blur differently.
Smartphones rely heavily on computational photography, image stabilization, and software processing to compensate for movement and low light.
Mirrorless cameras and DSLRs provide much greater manual control, allowing you to adjust shutter speed, aperture, and ISO independently.
Regardless of which device you use, the fundamentals remain the same. Stable shooting, proper focus, and adequate lighting are still the biggest factors in producing sharp photos.
When Better Equipment Makes Sense
Improving your technique should always come first.
However, there are situations where accessories can make a noticeable difference.
For example:
- Long exposure photography
- Landscape photography
- Video recording
- Macro photography
- Self portraits
- Content creation
In these situations, stabilization equipment can dramatically improve sharpness by eliminating camera movement that even steady hands can’t completely avoid.
Tripod vs Gimbal: Which One Do You Need?
If blurry photos are becoming a regular problem, adding stabilization equipment can make a significant difference. The question is whether you need a tripod or a gimbal.
A tripod is designed to keep your camera completely still. It’s ideal for landscapes, portraits, long exposure photography, group photos, and any situation where the camera remains stationary.
A gimbal, on the other hand, actively stabilizes movement while you’re walking or filming. It’s primarily intended for smooth video recording, although it can also help capture sharp photos in certain situations.
If your goal is sharper photos, a tripod is usually the first accessory to buy. If you create video content regularly, a gimbal is often the better investment.
Stabilization Accessories Worth Considering
Once you’ve improved your photography technique, adding the right equipment can help you capture consistently sharper images in situations where handheld shooting isn’t enough.
Here are two excellent options depending on how you shoot.
1
K&F Concept 76 Inch Camera Tripod: Best Overall for Sharp Photos
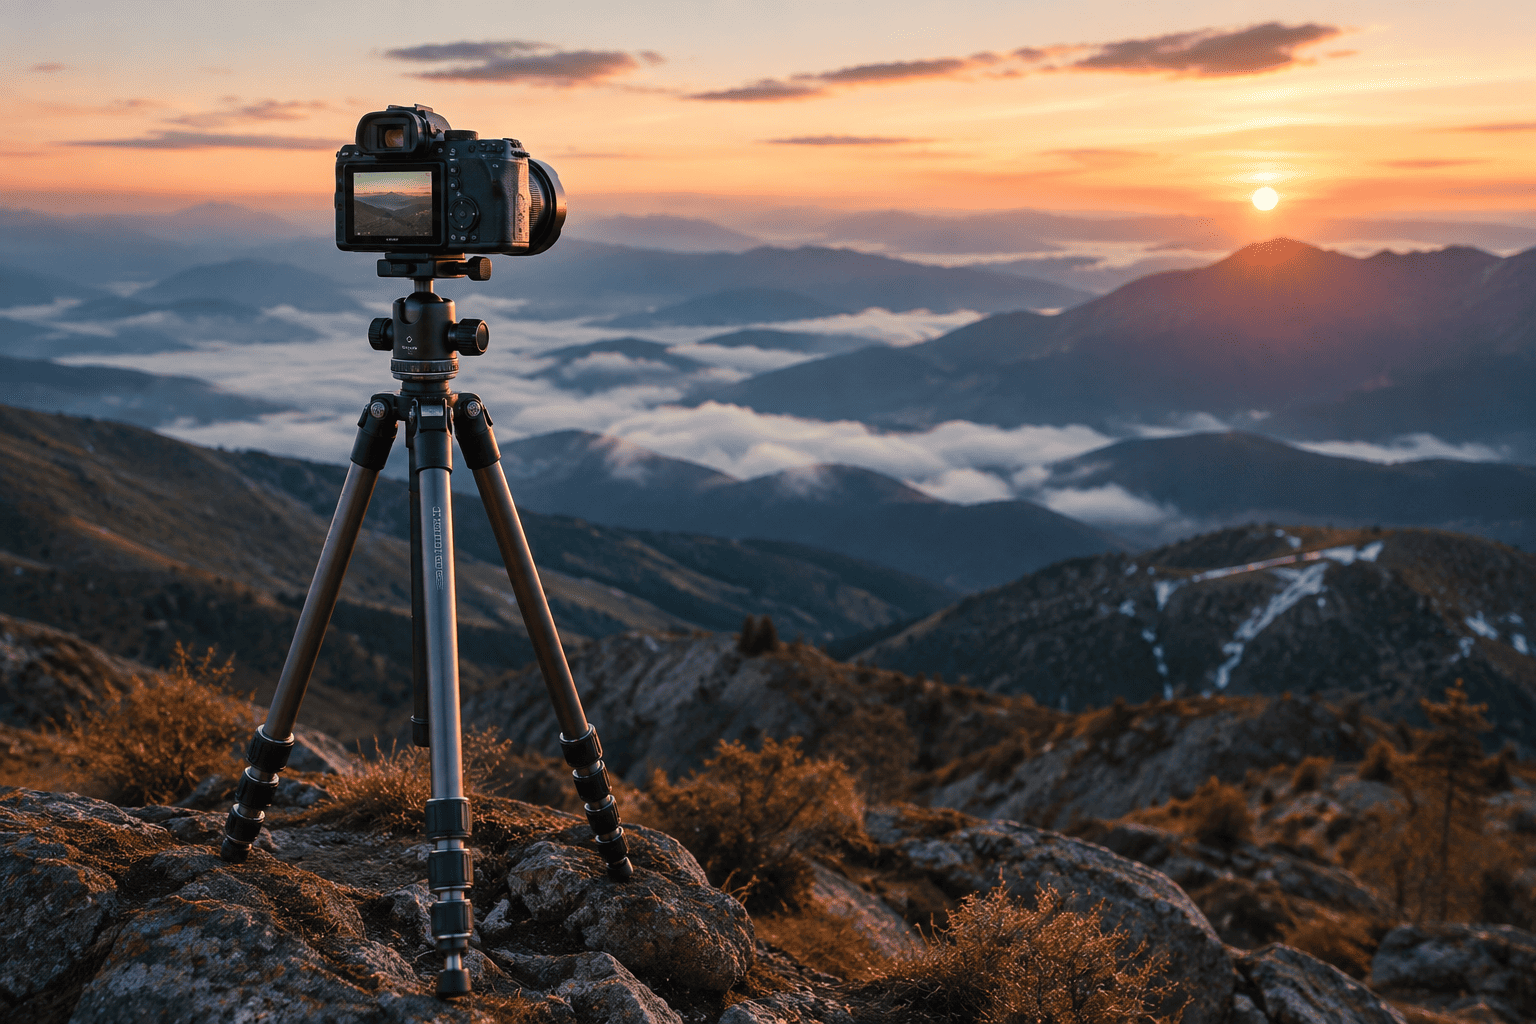
If you’re looking for an affordable way to eliminate camera shake, the K&F Concept 76 Inch Camera Tripod is an excellent place to start. At around $60, it offers impressive versatility for photographers using DSLRs, mirrorless cameras, or even smartphones.
One of its standout features is the rotatable multi-angle center column, which allows you to position your camera from a wide variety of angles without constantly repositioning the tripod itself. This is especially useful for macro photography, product photography, and creative overhead shots.
Despite extending to an impressive 76 inches, the tripod remains lightweight enough for travel. The aluminum construction balances portability with stability, making it suitable for landscapes, portraits, travel photography, and long exposure shots.
The included 360-degree ball head makes adjusting camera angles quick and smooth, while the 17.6-pound (8 kg) load capacity easily supports most consumer cameras and lenses. It also comes with a smartphone holder, making it just as useful for mobile photography and content creation.
The K&F Concept tripod is a great choice if you:
- Want consistently sharper photos
- Shoot landscapes or night photography
- Create product or macro images
- Need a lightweight travel tripod
- Use both cameras and smartphones
For photographers looking to improve image sharpness without spending a lot, it’s one of the best value upgrades available.
2
DJI RS 3 Mini: Best for Smooth Video and Moving Shots
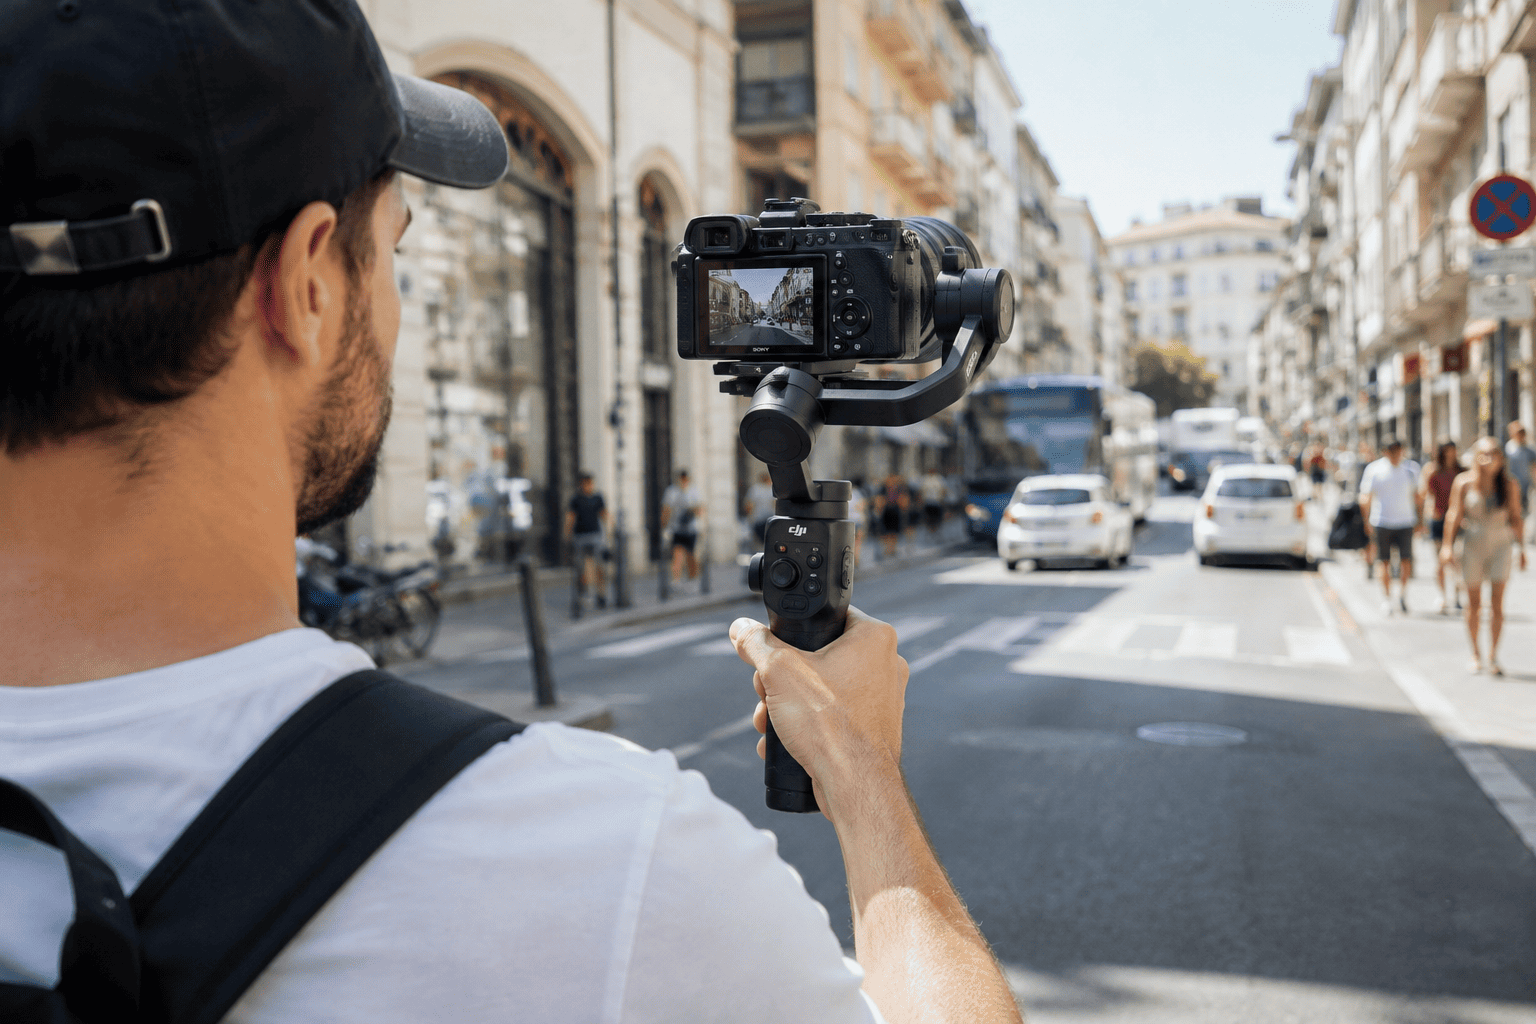
If your biggest challenge is shaky handheld video rather than blurry still photos, the DJI RS 3 Mini is a fantastic option. Priced at around $199, it’s designed for creators who want professional-looking stabilization while remaining highly portable.
Unlike a tripod, the RS 3 Mini actively compensates for your hand movements using DJI’s third-generation stabilization system. Whether you’re walking, following a subject, or filming while moving, the footage remains remarkably smooth.
Although compact at only 795 grams, it supports camera setups weighing up to 2 kg (4.4 pounds), making it compatible with many popular mirrorless cameras from Canon, Sony, Nikon, Fujifilm, and Panasonic.
Native vertical shooting also makes it an excellent choice for creators producing content for Instagram Reels, TikTok, and YouTube Shorts. Bluetooth shutter control simplifies operation by allowing compatible cameras to communicate directly with the gimbal.
The DJI RS 3 Mini is ideal if you:
- Record travel videos
- Create YouTube content
- Film weddings or events
- Shoot cinematic footage while walking
- Need lightweight stabilization for mirrorless cameras
For anyone focused on video production, it’s one of the most capable compact gimbals in its class.
Buying Guide: Choosing the Right Stabilization Equipment
The best accessory depends on the type of photography or video you create.
Photography or Video?
If you mainly take still photos, start with a tripod. If video is your priority, a gimbal will provide much greater benefits.
Portability
Travel photographers should look for lightweight equipment that’s easy to carry without sacrificing stability.
Compatibility
Always check the weight capacity to ensure the tripod or gimbal supports your camera, lens, and any additional accessories.
Build Quality
A sturdy aluminum or carbon fiber construction provides better stability and tends to last much longer than cheaper plastic alternatives.
Flexibility
Features like adjustable center columns, rotating ball heads, and smartphone mounts add versatility for different shooting situations.
Final Thoughts
Blurry photos are rarely caused by poor camera equipment. In most cases, they’re the result of camera shake, incorrect focus, subject movement, or challenging lighting conditions. Fortunately, these issues are often easy to fix with better technique and a little practice.
When handheld shooting still isn’t enough, stabilization equipment can make a dramatic difference.
If your goal is sharper photos for landscapes, portraits, travel, or long exposure photography, the K&F Concept 76 Inch Camera Tripod offers outstanding value and dependable stability.
If you create video content and want smooth, professional-looking footage while moving, the DJI RS 3 Mini is the better investment thanks to its advanced stabilization and lightweight design.
The combination of good photography habits and the right stabilization tool will help you capture sharper, clearer images far more consistently, regardless of the camera you’re using.